
There's something deeply satisfying about lighting a new candle—the anticipation of a fresh fragrance filling your space, the warm glow dancing across your walls. But within the first few hours of that inaugural burn lies a crucial moment that will determine whether your candle performs beautifully to the last drop of wax or becomes a frustrating, tunneled mess. Understanding wax memory and mastering the first burn isn't just candle enthusiast trivia; it's the key to getting your money's worth and maximizing your aromatic experience.
What Is Wax Memory and Why Does It Matter?
Wax memory is a phenomenon where candle wax "remembers" the diameter of its first burn and continues to melt only to that point in subsequent uses. If you light a candle for just 30 minutes and then extinguish it, the wax will only melt in a small pool around the wick. The next time you light it—and every time after—the candle will tend to burn within that same limited diameter, leaving a ring of unused wax clinging to the sides of the container.
This creates what's known as tunneling: a deep well forms down the center of the candle while perfectly good wax remains untouched along the edges. Not only does this waste expensive wax and reduce your candle's burn time, but it can also diminish scent throw as the wick becomes increasingly recessed and starved of oxygen.
The Science Behind the First Burn
The first burn establishes the "memory ring" because candle wax, whether paraffin, soy, or a blend, has relatively low thermal conductivity. Heat radiates outward from the flame slowly, and if extinguished before the melt pool reaches the container's edge, the outer wax remains solid and creates a barrier.
Once this barrier forms, subsequent burns generate heat that follows the path of least resistance—the already-melted center channel. The solid outer wax acts as insulation, preventing the heat from reaching and melting it. This is why patience during your first burn is absolutely essential.
The Golden Rule: Achieving a Full Melt Pool
The cardinal rule of candle burning is simple: always allow the wax to melt completely to the edges of the container during the first burn. Depending on your candle's diameter, this typically takes:
- Small candles (2-3 inches): 1-2 hours
- Medium candles (3-4 inches): 2-3 hours
- Large jar candles (4+ inches): 3-4 hours
- 3-wick candles: 2-3 hours (multiple wicks speed up the process)
A good rule of thumb is to allow approximately one hour of burn time per inch of candle diameter. Yes, this requires commitment, but think of it as an investment in dozens of future burns.
The Role of Wick Trimmers in Proper Candle Care
While the first burn gets all the attention, wick maintenance plays an equally important role in preventing tunneling and ensuring clean burns throughout your candle's life. This is where a quality wick trimmer becomes indispensable.
Why Trim Your Wick?
Before every single burn, your wick should be trimmed to approximately 1/4 inch (6mm). Here's why:
- Controlled flame size: A properly trimmed wick produces a moderate, steady flame that generates consistent heat distribution
- Reduced soot: Long wicks create larger flames that produce more carbon buildup, leading to black smoke and residue on your container
- Even melting: An oversized flame can create hot spots and uneven wax consumption
- Longer burn time: Controlled flames consume wax more efficiently
- Safety: Excessively tall flames pose fire hazards and can crack glass containers
Choosing the Right Wick Trimmer
While scissors or nail clippers can technically trim a wick, dedicated wick trimmers are designed with angled blades that reach into containers and cut at the optimal angle. They also catch the trimmed wick debris, preventing carbon pieces from falling into the wax pool—a common cause of subsequent burn issues.
Look for trimmers with:
- Long handles for deep jars
- Sharp, angled stainless steel blades
- A debris-catching platform
- Comfortable grip for repeated use
Understanding Wax Quality and Its Impact on Burning
Not all candles are created equal, and the quality of the wax blend significantly affects how forgiving—or unforgiving—a candle is during burning.
Paraffin Wax
The most common candle wax, paraffin is petroleum-derived and known for excellent scent throw. High-quality paraffin burns evenly and has good memory characteristics, though cheaper versions may contain impurities that cause inconsistent melting.
Soy Wax
Derived from soybean oil, soy wax burns cooler and slower than paraffin. It's generally more forgiving with wax memory but requires properly sized wicks to achieve full melt pools. Pure soy can sometimes have "frosting" (a white crystalline appearance) that's purely cosmetic.
Coconut and Coconut Blends
Coconut wax has gained popularity for its clean burn and excellent scent throw. It's often blended with other waxes for optimal performance. These premium blends tend to be more forgiving and create beautiful, even melt pools.
Beeswax
Natural beeswax has a subtle honey scent and burns very cleanly. However, it has a higher melting point and can be more prone to tunneling if not burned properly.
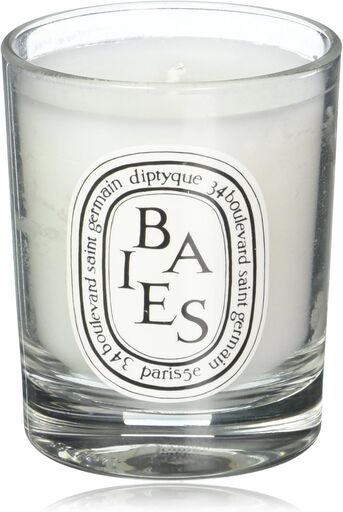
Diptyque Baies Scented Candle
Troubleshooting: What If Tunneling Has Already Started?
Don't despair if you've already created a tunnel in your candle. Several rescue techniques can help:
The Aluminum Foil Method
Create a dome of aluminum foil over the candle (leaving a hole for oxygen), which reflects heat back onto the wax walls. Burn for 2-3 hours, checking periodically. The reflected heat can melt the outer wax and "reset" the memory.
The Hair Dryer Technique
Use a hair dryer on high heat to melt the top layer of wax evenly. Once level, allow it to re-solidify before your next (properly timed) burn.
The Oven Method (Use Caution)
Place the candle on a foil-lined baking sheet in an oven at 175°F (80°C) for about 5 minutes, or until the top layer melts flat. Remove carefully and let solidify on a level surface.
Additional Tips for Perfect Candle Burning
Avoid drafts: Air currents cause uneven burning and can push the flame to one side, creating lopsided melt pools.
Don't burn too long: While the first burn should reach the edges, subsequent burns shouldn't exceed 4 hours. Extended burning can overheat the container and cause the wick to "mushroom."
Use a candle snuffer: Blowing out candles can push the wick off-center and splatter wax. A snuffer extinguishes the flame cleanly.
Store properly: Keep candles away from direct sunlight and extreme temperatures to prevent discoloration and surface sweating.
Center your wick: If your wick has shifted, gently reposition it while the wax is still liquid after extinguishing.
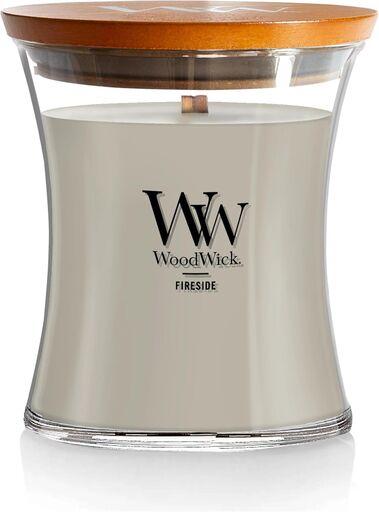
WoodWick Fireside Holiday Candle
The Bottom Line: Patience Pays Dividends
The relationship between you and your candle begins with that first burn—make it count. By committing to a full melt pool initially, maintaining your wick with proper trimming, and investing in candles made with quality wax blends, you'll transform your candle experience from frustrating to flawless.
Remember: a well-burned candle isn't just about aesthetics or getting your money's worth (though both matter). It's about maximizing scent throw, ensuring safety, and creating those perfect ambient moments that make candles such beloved additions to our homes. Take the time to do it right, and your candles will reward you with every beautiful, even burn.